How To Screen In A Porch: The Complete Step-By-Step Guide For A Cozy Outdoor Escape

In my years of experience helping homeowners get more out of their outdoor spaces, a screened-in porch is one of the most rewarding upgrades you can make. It gives you all the beauty of the outdoors, the breeze, the birdsong, the golden evening light, without the bugs, the sudden rain, or the harsh afternoon sun.
The good news is that screening in a porch is a project many homeowners can tackle themselves over a weekend, and once it is done, styling it into a warm, inviting retreat is the fun part. Below, I am walking through exactly how to screen in a porch step by step, followed by my favorite ways to style it so it feels like a true extension of your home.
Step 1: Measure Your Porch Opening Carefully
Before buying a single piece of material, measure the height and width of each opening you plan to screen, including the space between posts and railings.
Write down each measurement separately since porch openings are rarely perfectly identical. A small notebook kept nearby while you measure saves a second trip back and forth to check a number you forgot to write down.
Step 2: Choose The Right Screening Material
Standard fiberglass screening is affordable and easy to work with, while aluminum screening is more durable but slightly harder to install.
If you have pets, look for a heavier-duty pet-resistant screen that resists tearing rather than the standard mesh, since claws and curious noses put real strain on a thin material.
💡 Quick Tip
If you have pets or heavy foot traffic, spend the extra money on pet-resistant or aluminum screening upfront rather than replacing fiberglass sooner than expected.
Step 3: Build Or Prepare Your Frame Sections
Most screened porches use wood or aluminum framing between the posts to hold the screen taut. If your porch already has railings, you can often frame directly onto them.
Otherwise, build simple rectangular frames sized to each opening before you attach any screening at all. Getting the frame square at this stage saves headaches later, since a slightly off angle becomes obvious once the screen is stretched taut across it.
Frame directly onto them, less building required.
Build simple rectangular frames sized to each opening.
Step 4: Attach The Screening To The Frame
Starting at the top of the frame, staple the screen material every two to three inches, pulling it gently taut as you go to avoid sagging or wrinkles.
Work your way down each side before trimming the excess with a utility knife. Keep tension even on all four sides as you go, rather than finishing one side completely before starting the next, so the screen pulls taut evenly rather than warping toward whichever side you stapled first.
Keeping it taut and even
Step 5: Cover The Staples With Screen Molding
Thin strips of screen molding or trim hide the staple line and give the finished panel a clean, professional look that is easy to skip but hard to miss once it is missing.
Nail or glue the molding along each edge where the screen meets the frame, and the whole panel reads as finished rather than mid-project.
Step 6: Install The Framed Panels Into The Openings
Once your panels are built and trimmed, set each one into its corresponding opening and secure it with screws or brackets into the posts and railings.
Check that each panel sits flush and level before fully fastening it, since adjusting a panel after it is screwed in place is far more work than checking twice beforehand.
Set the panel into its opening without fastening yet.
Check that it sits flush and level.
Secure fully with screws or brackets once confirmed.
Step 7: Add A Screen Door For Easy Access
A porch that is fully screened but has no real door quickly turns into something people awkwardly climb through or prop open, letting bugs right back in.
A hinged screen door at the main entry point keeps the porch functional day to day. Choose one with a self-closing hinge or spring so it does not stay propped open by accident.
Install a hinged screen door at the main entry.
Choose a self-closing hinge or spring.
Leaving one opening fully screened with no door.
A hinge without a self-closing mechanism.
Step 8: Seal Any Remaining Gaps
Small gaps at the bottom edges, corners, and where the screen meets the ceiling or floor are exactly where insects find their way in, even after the main screening looks complete.
A thin bead of exterior caulk or foam weather stripping along these spots keeps the porch genuinely bug-free rather than just mostly screened.
| Gap Location | Fix |
|---|---|
| Bottom edges and corners | Thin bead of exterior caulk. |
| Where screen meets ceiling or floor | Foam weather stripping. |
Style It With A Cozy Outdoor Rug
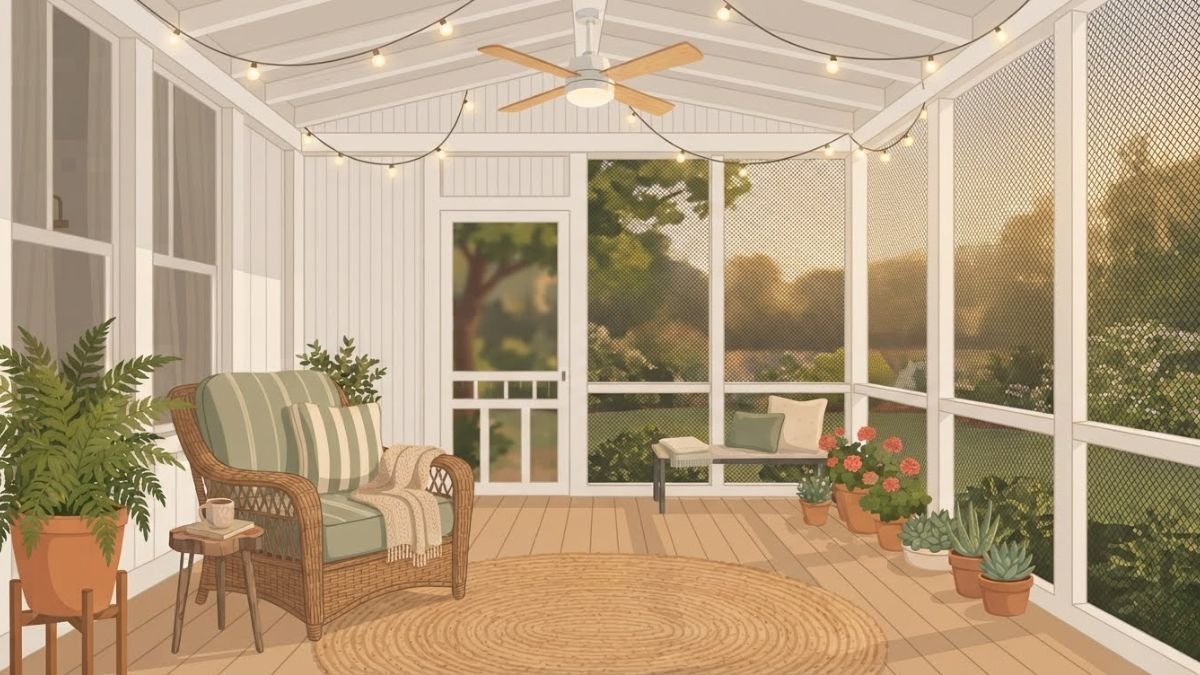
An indoor-outdoor rug instantly grounds the space and adds warmth underfoot once the screening is complete, turning a bare porch floor into an actual room.
Choose a durable weave in a soft neutral tone or a subtle stripe pattern that can handle moisture and foot traffic without showing wear within the first season.
Choose a rug rated for moisture and foot traffic, not an indoor one repurposed outside.
Bring In Comfortable, Weather-Resistant Seating
Look for wicker or rattan furniture with weather-resistant cushions in soft, breathable fabric, since a well-screened porch deserves seating you actually want to relax in rather than furniture that just survives outside.
Angle two chairs toward each other with a small side table between them, and the space instantly reads as a place to sit rather than pass through.
- ▸Wicker or rattan with weather-resistant cushions.
- ▸Angle chairs toward each other, not side by side.
- ▸A small side table between them ties the seating together.
Layer In Soft Textiles And Pillows
Stick to two or three coordinating colors when choosing throw pillows and a lightweight blanket, so the look feels intentional rather than cluttered, especially in the cooler evening hours.
Sage green and cream, or rust and cream, both repeat well across two or three pieces without needing a fourth or fifth color to compete for attention.
Add A Ceiling Fan For Airflow And Comfort
A screened porch can still feel warm on summer days, since screening lets light and heat through even while keeping bugs out.
A ceiling fan keeps air moving and bugs from lingering nearby. Choose a fan rated for outdoor or damp locations specifically, since a standard indoor fan will not hold up to real humidity.
📌 Good To Know
Look specifically for a fan rated for outdoor or damp locations, since a standard indoor fan will not hold up long term.
Use String Lights Or Lanterns For Evening Ambience
Warm lighting transforms a screened porch from a daytime spot into an evening retreat, which is often the difference between a porch that gets used year round and one that only sees traffic during the day.
String lights along the ceiling beams or a few lantern-style fixtures on side tables create a soft, welcoming glow once the sun goes down.
A porch that sits empty once the sun goes down.
A space people actually want to sit in after dark.
Add Greenery That Thrives In A Screened Space
Since a screened porch still gets natural light and airflow, potted plants like ferns, peace lilies, or trailing pothos do genuinely well here, unlike a fully enclosed room with no real light source.
Cluster a few different pot sizes together, a tall leafy fern, a medium peace lily, and a small trailing pothos, for a lush, layered look rather than single scattered pots.
Building a layered plant corner
Common Mistakes To Avoid When Screening A Porch
A few mistakes show up again and again on screened porch projects, and all of them are avoidable with a little extra care at the right step.
Pull the screen taut, then check tension again.
Add molding, a door, and weather-resistant furniture.
Stapling too loosely, which sags within a few months.
Skipping molding, a door, or weather-resistant materials.
Choosing Between DIY And Hiring A Professional
A DIY screen-in project works well for straightforward porches with standard rectangular openings, and can often be completed in a weekend with basic tools.
If your porch has curved sections, unusual angles, or you want a heavier-duty framing system built into the structure itself, it may be worth bringing in a professional contractor. Either way, the styling ideas above apply just as well whether you built it yourself or had it professionally installed.
| Porch Type | Best Approach |
|---|---|
| Standard rectangular openings | DIY, doable in a weekend. |
| Curved or angled sections | Consider a professional contractor. |
Final Thoughts
A screened-in porch is one of those upgrades that pays you back every single day it exists. Handling the screening yourself over a weekend or bringing in help for the trickier parts both lead to the same result, sitting there in the evening breeze, bug free and completely at ease.
Take it one step at a time, measure twice, staple carefully, and once the screening is done, have fun making the space feel like your own personal retreat.
Frequently Asked Questions
How much does it cost to screen in a porch?
Costs vary widely depending on porch size and materials, but a DIY fiberglass screen project is generally far more affordable than aluminum framing or hiring a contractor. Budget primarily for screening material, wood or aluminum framing, molding, and a screen door.
What is the best material to screen in a porch?
Fiberglass screening is the most budget-friendly and beginner-friendly option, while aluminum screening lasts longer and resists tearing better, making it a good choice for homes with pets or high foot traffic.
Can I screen in a porch myself without hiring a contractor?
Yes, for a standard rectangular porch with basic framing, most homeowners with simple tools can complete the project themselves in a weekend. More complex or structurally involved porches may benefit from professional help.
Do I need a permit to screen in a porch?
This depends on your local building codes, especially if you are adding new framing or structural elements. It is worth checking with your local permitting office before starting the project.