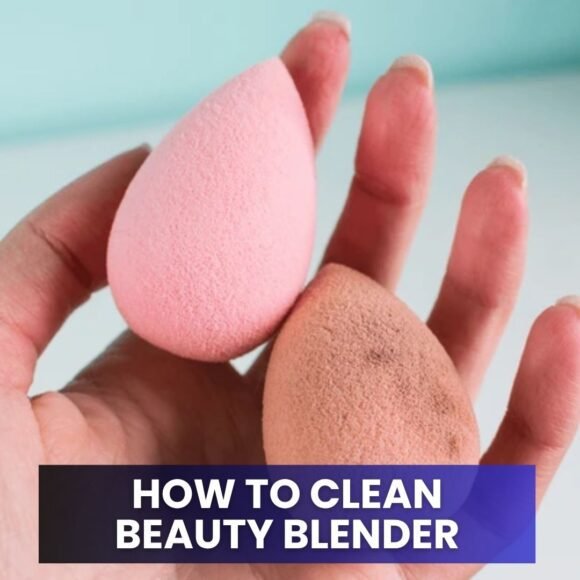
The Ultimate Guide on How to Clean Beauty Blender Like a Pro
Your beauty blender is one of the most essential tools in your makeup routine, helping you achieve that seamless, airbrushed finish.
But if it’s not cleaned regularly, it can become a breeding ground for bacteria, leading to breakouts and uneven makeup application.
Cleaning your beauty blender isn’t just about hygiene—it’s the secret to better, smoother makeup results.
In this complete guide, you’ll learn how to clean a beauty blender effectively, the best methods to use, and how to keep it in top condition for flawless looks every time.
1. Why Cleaning Your Beauty Blender Matters
A dirty beauty blender can trap foundation, oil, and bacteria, which not only causes skin problems but also affects how your makeup applies.
Regular cleaning extends its life, maintains its soft texture, and ensures you’re applying makeup on a fresh, clean surface every time.
2. Gather the Right Cleaning Supplies
Before you begin, get all your cleaning tools ready. You’ll need gentle soap or liquid cleanser, warm water, a clean towel, and a bowl.
You can also use baby shampoo or a makeup sponge cleanser for gentle yet effective cleaning.
3. The Warm Water Soak Method
Start by soaking your beauty blender in warm water for a few minutes. This helps loosen up the makeup buildup trapped inside the sponge.
Make sure it’s fully saturated before applying cleanser so it absorbs less product during washing.
4. Using Gentle Soap or Cleanser
Apply a few drops of gentle soap, baby shampoo, or a beauty blender cleanser directly on the sponge.
Gently massage and squeeze it under warm water. Work through the stained areas until you see the makeup residue coming out.
5. The Microwave Cleaning Hack
For deep cleaning, try this effective trick. Mix soapy water in a microwave-safe cup, submerge your sponge, and heat it for 30–60 seconds.
The heat kills bacteria while loosening makeup residue. Once cooled, rinse thoroughly until the water runs clear.
6. Try Solid Cleansers for a Deep Wash
If your blender has stubborn stains, use a solid cleanser. Rub the wet sponge over the soap, working it in circular motions.
This type of cleanser is great for deep cleaning without damaging the sponge texture.
7. The Double-Clean Method for Heavy Makeup Users
If you use full-coverage foundation or thick creams daily, double-cleaning is best.
After the first wash, apply a second round of cleanser or baby shampoo, massage again, and rinse. This ensures all trapped residue is completely gone.
8. Rinse Until the Water Runs Clear
Thorough rinsing is essential. Hold your sponge under running warm water and squeeze repeatedly until the water comes out clear.
Any leftover soap can harden your sponge or irritate your skin.
9. Squeeze Out Excess Water
After rinsing, gently squeeze your beauty blender between clean towels to remove excess water.
Avoid twisting or pulling—it can tear the sponge. The goal is to keep its original shape intact while removing moisture.
10. Air Dry Properly
Place your beauty blender in a well-ventilated area to air dry completely.
Avoid storing it in a closed container or makeup bag when damp—it encourages mold growth. A breathable mesh holder or open surface is best.
11. Use Olive Oil for Stubborn Stains
If your sponge still looks stained, mix one teaspoon of olive oil with your cleanser.
Olive oil breaks down oil-based makeup and helps lift foundation buildup without damaging the sponge. Rinse thoroughly afterward to remove any oily residue.
12. Clean After Every Use (Ideally)
For best hygiene, clean your beauty blender after every use. This prevents foundation buildup and bacteria from accumulating.
If that’s not possible, aim for at least two to three times a week depending on your usage.
13. Avoid Harsh Cleaning Agents
Never use alcohol-based or household cleaners—they can weaken the sponge fibers and cause cracking.
Stick to gentle, skin-safe soaps designed for makeup tools.
14. Replace Your Beauty Blender Regularly
Even with regular cleaning, your beauty blender won’t last forever.
Replace it every three to four months, or sooner if it starts tearing or smelling musty. A fresh sponge ensures smoother application and better results.
15. Travel Cleaning Tip
When on the go, use makeup sponge cleansing wipes. They’re quick, portable, and effective for keeping your blender fresh between full washes.
16. Store It the Right Way
Keep your beauty blender in a dry, clean area—preferably in an open container or holder. Avoid tossing it into your makeup bag immediately after use, as trapped moisture leads to bacteria and unpleasant odors.
17. The Best Way to Clean a Beauty Blender
The most effective and safe way to clean your beauty blender is to use warm water and a gentle cleanser daily, combined with a deeper microwave or solid soap clean weekly.
This keeps it soft, sanitized, and makeup-ready. Always focus on gentle squeezing rather than harsh scrubbing to avoid damaging the sponge’s texture.
18. How Often Should You Deep Clean It?
If you wear makeup daily, aim for a deep clean at least once a week. Light users can do it every two weeks. Regular rinsing after each use plus a deep cleanse schedule helps extend its lifespan and ensures cleaner makeup application.
Extra Tips for Maintaining a Clean Beauty Blender
-
Always wash your hands before handling your blender to prevent transferring germs.
-
Use lukewarm water, not hot, to avoid damaging the sponge.
-
Rotate between two beauty blenders if you wear makeup daily—this gives one time to dry completely.
-
If your blender has a bad smell even after washing, it’s time to replace it.
FAQs About Cleaning Beauty Blenders
1. Can I use dish soap to clean my beauty blender?
Yes, you can use a small amount of unscented dish soap mixed with olive oil for stubborn stains. However, rinse it thoroughly to remove all residue before using it again.
2. How do I dry my beauty blender faster?
After squeezing out excess water, place it near an open window or a fan. Avoid dryers or microwaving it dry, as that can damage the sponge.
3. What happens if I don’t clean my beauty blender regularly?
Skipping cleaning can cause bacteria buildup, breakouts, and uneven makeup application. Over time, your sponge can also start to smell bad and lose its soft texture.
4. Can I clean my beauty blender with just water?
Water alone can remove surface makeup but won’t disinfect or remove deep-seated oils. Always pair it with a gentle cleanser for proper hygiene.
5. How do I know it’s time to replace my beauty blender?
If it starts tearing, smells unpleasant, or doesn’t bounce back to shape, it’s time to replace it. Most blenders last around three months with regular cleaning.
Final Thoughts
A clean beauty blender is the secret weapon behind flawless makeup and healthy skin. With the right cleaning habits and a gentle touch, you can keep your sponge fresh, soft, and long-lasting.
Remember, your makeup tool deserves as much care as your skin—so don’t let it sit dirty for weeks.
Regular cleaning not only improves performance but also protects your skin from irritation.
Stay consistent, and your beauty blender will always be ready to give you that smooth, airbrushed glow every time.
Contents
- 1. Why Cleaning Your Beauty Blender Matters
- 2. Gather the Right Cleaning Supplies
- 3. The Warm Water Soak Method
- 4. Using Gentle Soap or Cleanser
- 5. The Microwave Cleaning Hack
- 6. Try Solid Cleansers for a Deep Wash
- 7. The Double-Clean Method for Heavy Makeup Users
- 8. Rinse Until the Water Runs Clear
- 9. Squeeze Out Excess Water
- 10. Air Dry Properly
- 11. Use Olive Oil for Stubborn Stains
- 12. Clean After Every Use (Ideally)
- 13. Avoid Harsh Cleaning Agents
- 14. Replace Your Beauty Blender Regularly
- 15. Travel Cleaning Tip
- 16. Store It the Right Way
- 17. The Best Way to Clean a Beauty Blender
- 18. How Often Should You Deep Clean It?
- Extra Tips for Maintaining a Clean Beauty Blender
- FAQs About Cleaning Beauty Blenders
- Final Thoughts