22 Low Ceiling Kitchen Ideas That Actually Add Perceived Height

Two mistakes make a low kitchen ceiling feel even lower than it actually is, leaving a gap above the upper cabinets and hanging a big drop pendant over the island. Both trap the eye at exactly the height you’re trying to lift past.
The fix isn’t a renovation, it’s getting the cabinet line, the lighting clearance, and the color blocking right, three details most kitchen guides never get specific about.
Standard 8-foot and 7.5-foot ceilings, common in older homes, cottages, and basements, respond well to the right combination of these tricks without a single wall coming down.
Below is a full strategy for making that happen, starting with a quick reference table before the ideas themselves.
Kitchen Height Strategy Selector
| Kitchen Feature | Best Low-Ceiling Option | What to Avoid |
|---|---|---|
| Upper Cabinets | Floor-to-ceiling cabinets, flush crown | A 6–12 inch dead gap above cabinets |
| Island Lighting | Recessed cans or slim semi-flush drums | Large drop pendants under 30 inches |
| Range Hood | Flush under-cabinet or panel-insert hood | Bulky chimney-style hood |
| Backsplash | Vertical stacked tile, counter to ceiling | Horizontal tile stopping mid-wall |
1. Light Colors to Open Up the Space
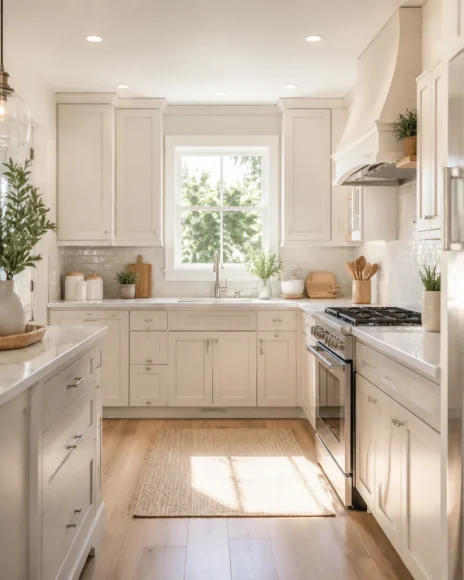
The Vertical Illusion: Soft white, cream, or light grey walls and cabinets in similar tones blur the line between surfaces, reflecting more light and reading as farther away than dark, high-contrast colors would.
Clearance & Cabinet Rule: Keep walls and cabinet color within one or two shades of each other rather than a stark contrast, this is what actually blurs the boundary the eye reads as the room’s edge.
Styling Detail: A warm off-white avoids the clinical feel a stark cool white can bring to a small kitchen.
2. Cabinets Extended to the Ceiling
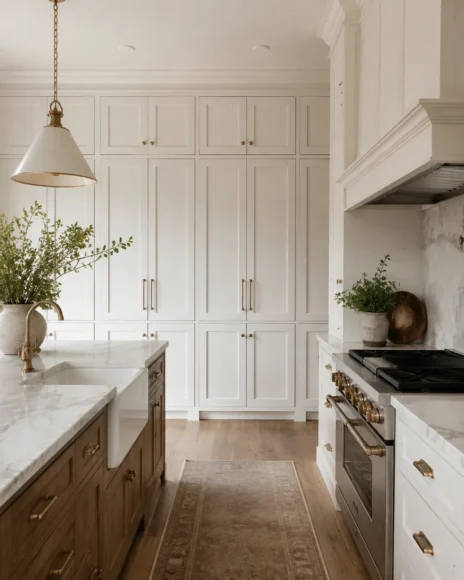
The Vertical Illusion: Running cabinets all the way to the ceiling, instead of stopping short, eliminates the dust-collecting dead gap and pulls the eye straight up to the top of the room.
Clearance & Cabinet Rule: This is the single biggest height trick on this whole list. Close any remaining sliver of gap with flush crown trim rather than a decorative molding that adds visual bulk at the top.
Styling Detail: Use the newly gained top shelf for rarely-used items, it’s genuinely useful storage, not just a height trick.
Island Lighting Clearance Guide
3. Slim Flush-Mount and Recessed Lighting
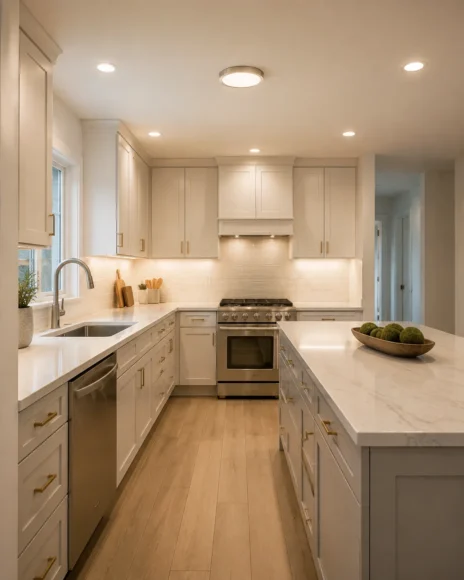
The Vertical Illusion: Fixtures that sit close to the ceiling keep the space clean and uncluttered while still delivering full daily task brightness.
Clearance & Cabinet Rule: Recessed cans add zero drop, the safest choice for any kitchen under 8 feet. Our entryway light fixture ideas for low ceilings guide has more low-clearance fixture options in this same style.
Styling Detail: Choose warm 2700K to 3000K bulbs for a kitchen this compact, cooler tones can feel clinical in a smaller space.
4. Glossy Finishes for Reflection
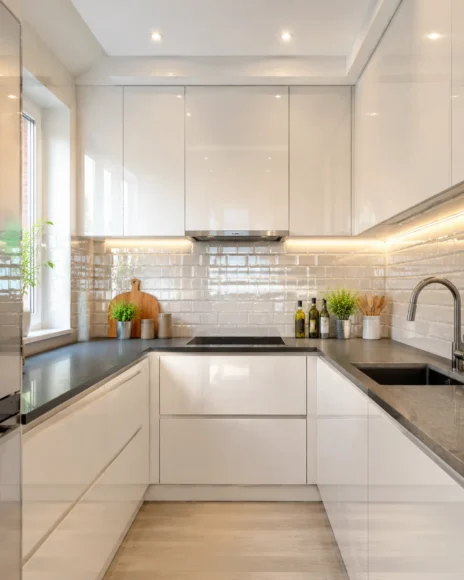
The Vertical Illusion: Glossy cabinet fronts, backsplash tile, or countertops bounce light around the room, making the whole kitchen read brighter without touching a single wall.
Clearance & Cabinet Rule: A gloss or satin cabinet finish works with any height trick above without adding real cost beyond the finish upgrade itself.
Styling Detail: Balance gloss cabinets with a matte countertop, all-gloss surfaces can start to feel like a showroom rather than a home.
5. Minimal Upper Cabinets with Open Shelving
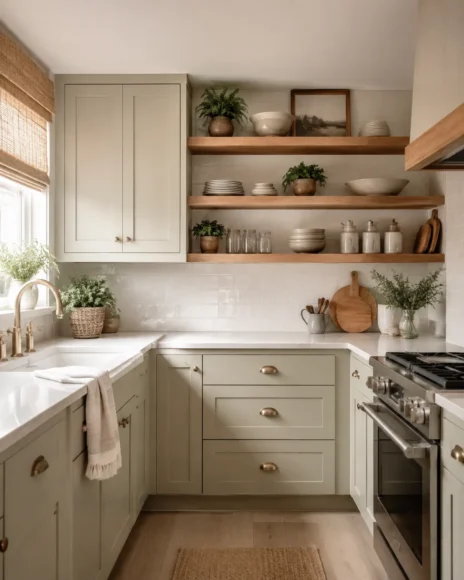
The Vertical Illusion: Swapping some solid upper cabinets for open shelves reduces visual weight overhead, letting more of the wall and ceiling actually show through.
Clearance & Cabinet Rule: Keep shelving to one wall section rather than the whole run, full open shelving everywhere sacrifices real storage most kitchens still need.
Styling Detail: Style shelves with a handful of items, dishes, a small plant, keeping visible gaps between them so the openness reads intentional.
6. Under-Cabinet Task Lighting
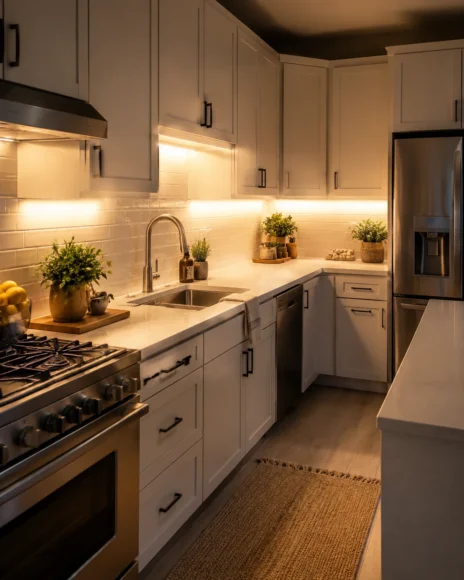
The Vertical Illusion: A slim LED strip under the upper cabinets brightens the countertop and removes shadows, making the whole kitchen feel more open, especially in the evening.
Clearance & Cabinet Rule: This adds zero ceiling clearance impact since it mounts under existing cabinetry, a genuinely free upgrade in terms of vertical space.
Styling Detail: Choose a strip with a diffuser lens rather than exposed bulbs, it eliminates the visible hot spots of individual LEDs.
7. Low-Profile Appliances
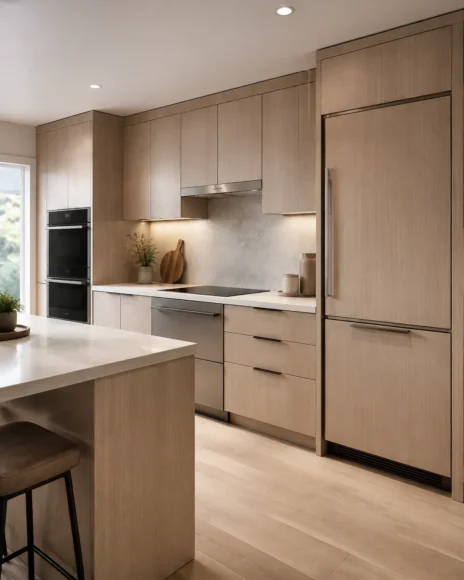
The Vertical Illusion: Sleek, slim-profile appliances fit the layout without the visual bulk that oversized models bring into an already compact room.
Clearance & Cabinet Rule: Confirm the exact appliance height against your upper cabinet clearance before ordering, a half-inch miscalculation is a common and costly mistake in a tight kitchen.
Styling Detail: Panel-ready appliances that match the cabinet fronts disappear into the design entirely, a strong choice for a low-ceiling kitchen.
8. Low-Profile Integrated Range Hood
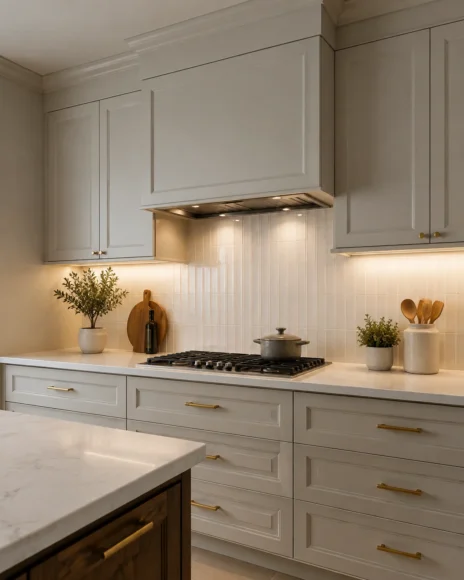
The Vertical Illusion: A flush, cabinet-matching hood insert replaces the bulky chimney-style hood that eats a huge amount of vertical space in most kitchens.
Clearance & Cabinet Rule: Choose an under-cabinet or ceiling-recessed extractor rated for your stove’s BTU output, low-profile doesn’t mean weaker, just differently housed.
Styling Detail: A panel insert that matches the surrounding cabinetry hides the hood almost entirely into the cabinet run.
The Two-Tone Cabinet Formula
9. Two-Tone Cabinet Color Blocking
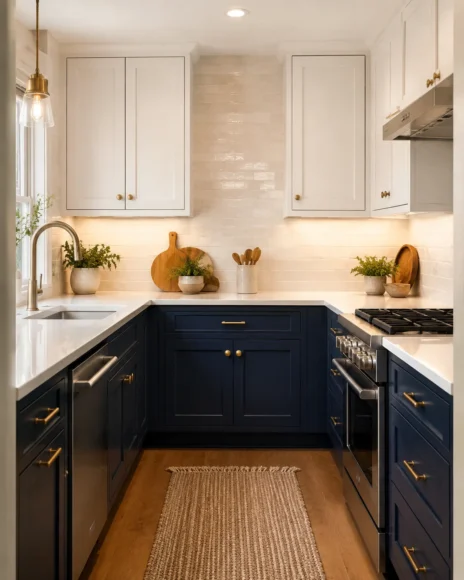
The Vertical Illusion: Dark lower cabinets against light upper ones create a visual split that draws the eye toward the lighter, higher zone, exactly the direction you want it moving in a short kitchen.
Clearance & Cabinet Rule: Follow the 60-30-10 formula above, and keep the color split at the countertop line for the cleanest transition point.
Styling Detail: Yes, dark lower cabinets work fine in a low-ceiling kitchen, it’s dark upper cabinets and dark ceilings that cause the compressed feeling, not dark lowers.
10. Vertical Stacked Subway Tile Backsplash
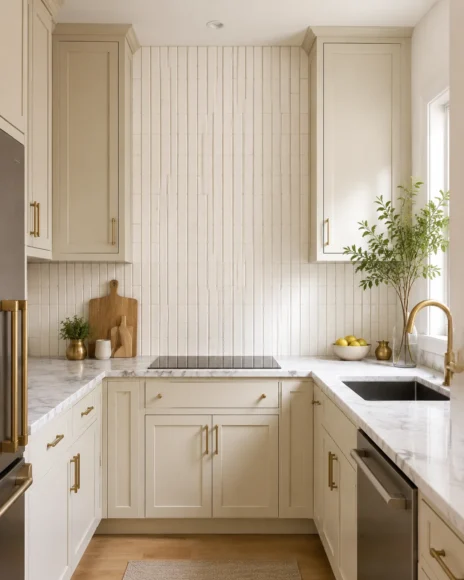
The Vertical Illusion: Subway tile set in a vertical stacked pattern, running counter to ceiling rather than stopping partway, pulls the eye straight up in seamless lines instead of horizontal breaks.
Clearance & Cabinet Rule: Run the tile all the way from the countertop to the underside of the upper cabinets or ceiling, stopping short defeats the entire vertical effect.
Styling Detail: Choose a thin grout line in a matching tone, a wide contrasting grout adds horizontal visual breaks back into the design.
11. Glass-Front Cabinet Doors
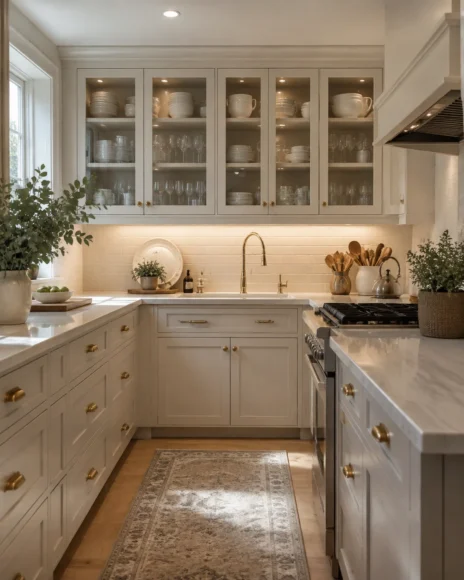
The Vertical Illusion: Glass fronts add real depth by letting the eye see through to the cabinet interior, reducing the heavy, boxed-in feeling solid doors create overhead.
Clearance & Cabinet Rule: Use glass fronts on upper cabinets specifically, where the height-compressing effect of solid doors matters most.
Styling Detail: Keep the contents behind glass doors genuinely organized, this detail only reads as open and airy if what’s visible looks intentional.
12. Fluted or Reeded Cabinet Fronts
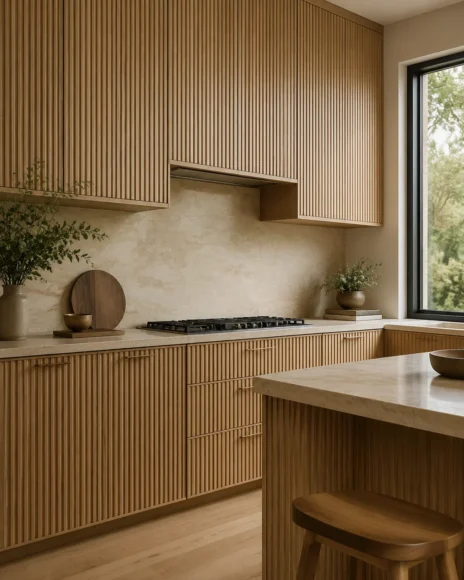
The Vertical Illusion: Vertical fluted grooves cut into cabinet doors add texture and, more importantly, a repeated vertical line that reinforces the upward pull happening elsewhere in the kitchen.
Clearance & Cabinet Rule: Apply fluting to the lower cabinet run for the strongest visual weight distribution alongside the two-tone formula. Our wood makeup vanity ideas guide has more on choosing wood tones and textures like this elsewhere in the home.
Styling Detail: Natural oak or walnut fluting adds warmth that a fully white kitchen can sometimes lack.
13. Handleless or Minimal Hardware Cabinets
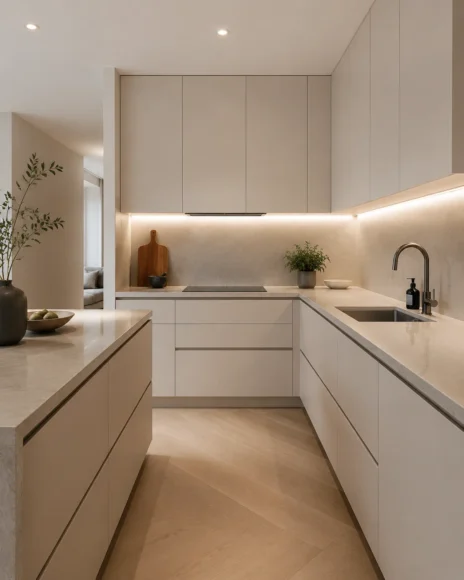
The Vertical Illusion: Removing bulky handles and knobs in favor of push-to-open mechanisms or slim integrated pulls creates a seamless, uninterrupted cabinet face that reads cleaner and taller.
Clearance & Cabinet Rule: This works especially well paired with the floor-to-ceiling cabinet trick, no protruding hardware to visually break the clean vertical run.
Styling Detail: If skipping handleless mechanisms, choose the smallest, most minimal pulls available rather than large statement hardware.
14. Vertical Paneling or Wallpaper Lines
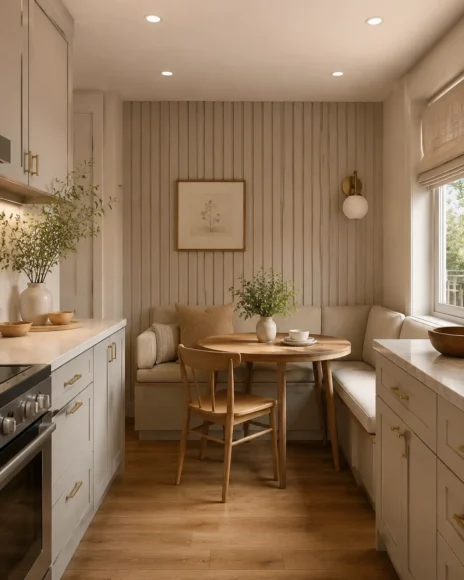
The Vertical Illusion: Vertical lines in wall paneling or wallpaper naturally pull the eye upward, whether applied to a full wall or a single accent section.
Clearance & Cabinet Rule: Keep the pattern subtle in a kitchen setting, bold contrast can compete with the cabinetry rather than support it.
Styling Detail: Our bedroom background ideas guide covers vertical slat and panel installation in more depth if you want to apply this trick beyond just the kitchen.
15. Compact Kitchen Island
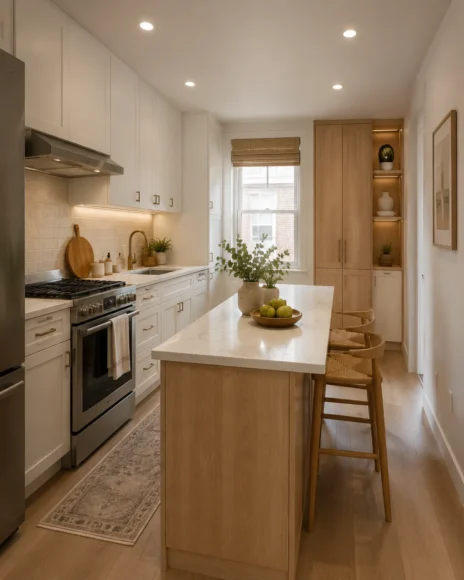
The Vertical Illusion: A smaller island with clean, simple lines avoids crowding the room, which matters even more directly for how low a ceiling feels than the ceiling height itself.
Clearance & Cabinet Rule: Keep at least 42 inches of clearance on all sides for walking space, this indirectly affects how open the whole kitchen feels.
Styling Detail: Choose an island height matched to the surrounding counters rather than a raised bar height, which can visually crowd a low ceiling further.
16. Reflective Stainless Steel Surfaces
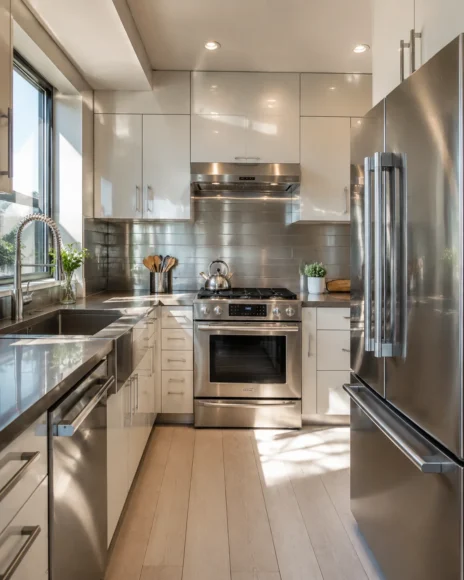
The Vertical Illusion: Stainless steel appliances or accents reflect ambient light around the room, adding a sense of openness especially in modern kitchen styles.
Clearance & Cabinet Rule: Concentrate reflective surfaces at counter height and below, too much reflective material overhead can create glare under direct lighting.
Styling Detail: A brushed rather than mirror-polish finish hides fingerprints better in a heavily used kitchen.
17. Minimal, Clean Decor
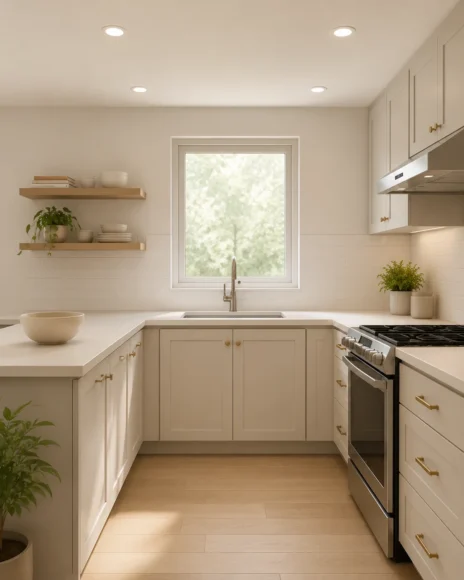
The Vertical Illusion: A few well-chosen accents keep the kitchen from feeling overwhelmed, clutter adds visual weight that a low kitchen genuinely cannot absorb.
Clearance & Cabinet Rule: Keep countertop items to what’s used daily, everything else goes into the newly extended upper cabinet storage from idea 2.
Styling Detail: One or two statement pieces, a bowl of fruit, a single plant, do more than a dozen small scattered objects.
18. Skylights and Increased Natural Light
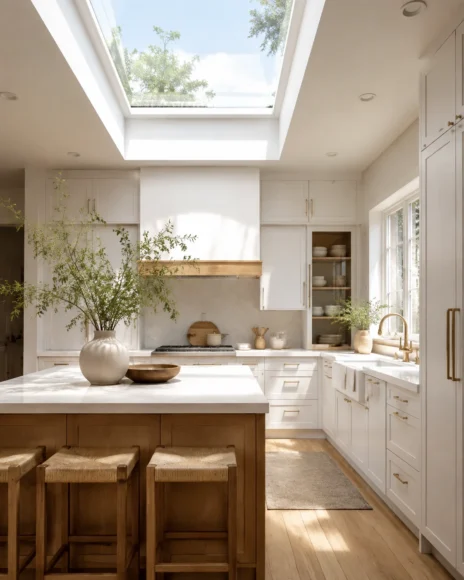
The Vertical Illusion: A skylight, where structurally possible, dramatically changes how a kitchen feels, natural light pouring in from above makes the ceiling read higher than any paint trick can achieve alone.
Clearance & Cabinet Rule: This is a structural project, confirm roof framing and get a contractor assessment before committing, it’s the highest-cost idea on this entire list.
Styling Detail: Even a smaller tubular skylight over an island makes a noticeable difference without the cost of a full traditional skylight.
19. Bright White Ceiling
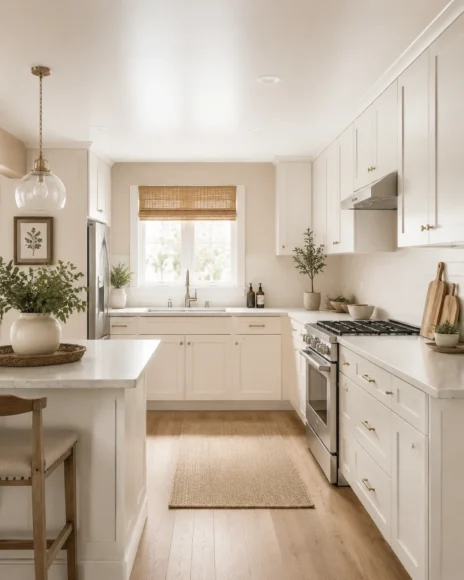
The Vertical Illusion: A bright white ceiling reflects the most available light and visually lifts the entire room, the opposite effect of a darker overhead color.
Clearance & Cabinet Rule: Avoid any ceiling color darker than the walls in a genuinely low kitchen, that combination compresses the space fastest of any single choice on this list.
Styling Detail: A flat or matte ceiling finish diffuses light more evenly than a glossy one directly overhead.
20. Thin or No Crown Molding
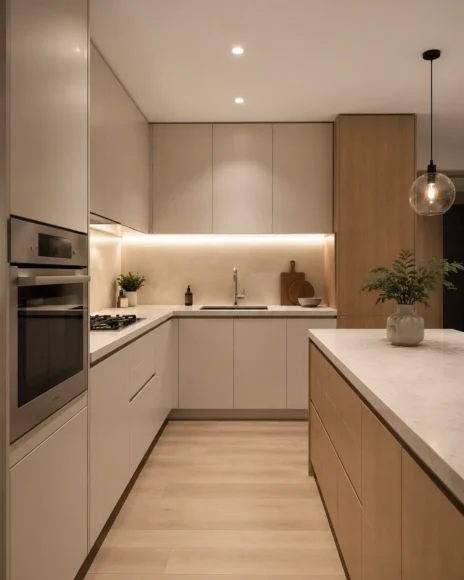
The Vertical Illusion: Heavy, ornate crown molding visually shortens the wall by adding bulk right at the ceiling line, exactly where a low kitchen needs the least visual weight.
Clearance & Cabinet Rule: If molding is required by code or style, choose the thinnest profile available, under 2 inches, or skip it entirely for a cleaner ceiling line.
Styling Detail: This pairs directly with the floor-to-ceiling cabinet trick, flush crown trim over ornate molding.
21. Strategic Mirrors or Reflective Decor
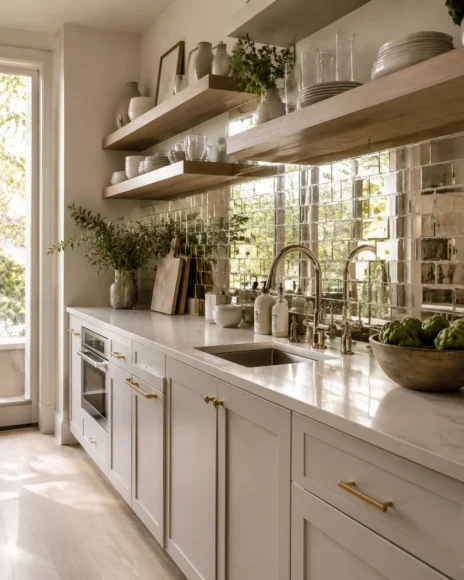
The Vertical Illusion: A mirrored backsplash section or reflective decor piece can double the visual depth of a kitchen wall, a trick usually reserved for living rooms but genuinely effective here too.
Clearance & Cabinet Rule: Position mirrored surfaces to reflect a window or light source, this maximizes the actual light-bouncing benefit rather than just the visual trick.
Styling Detail: A small mirrored tile section behind open shelving reflects both light and the objects displayed on it.
22. Simple, Continuous Flooring
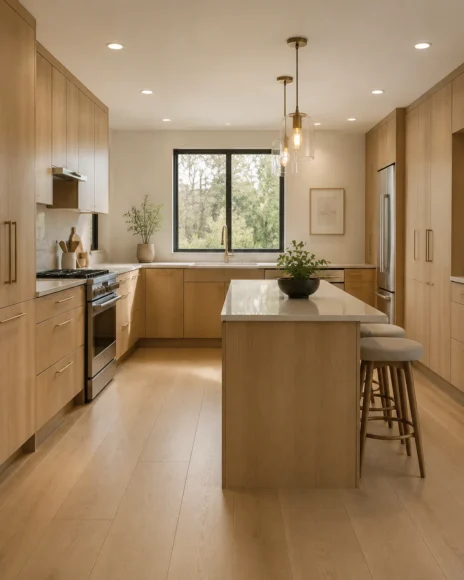
The Vertical Illusion: A simple, continuous floor without busy patterns keeps the eye moving smoothly through the room instead of stopping at visual breaks, enhancing the sense of openness from the ground up.
Clearance & Cabinet Rule: Run the same flooring material into adjacent rooms where possible, a visible material change at a doorway is another subtle way spaces read smaller than they are.
Styling Detail: Choose a larger tile or plank format over small mosaic-style flooring, fewer grout lines read as more open floor space.
Quick Comparison and Budget Guide
| Upgrade Idea | Approx Cost | Effort | Visual Height Impact |
|---|---|---|---|
| Light Colors Throughout | $ ($40–$90) | A weekend | High |
| Cabinets to the Ceiling | $$$$ ($1,500–$4,000) | Professional install | High |
| Slim Flush-Mount Lighting | $$$ ($200–$500) | Electrician | Medium |
| Glossy Finishes | $$ ($150–$400) | A weekend | Medium |
| Minimal Uppers + Open Shelving | $$ ($100–$300) | A few hours | Medium |
| Under-Cabinet Lighting | $ ($40–$100) | A few hours | Medium |
| Low-Profile Appliances | $$$$ (varies widely) | Delivery, install | Medium |
| Low-Profile Range Hood | $$$ ($300–$800) | Professional install | High |
| Two-Tone Cabinets | $$ ($150–$450) | A weekend | High |
| Vertical Stacked Backsplash | $$$ ($300–$700) | A weekend | High |
| Glass-Front Cabinets | $$$ ($250–$600) | A weekend | Medium |
| Fluted Cabinet Fronts | $$$ ($300–$700) | A weekend | Medium |
| Handleless Cabinets | $$ ($100–$350) | A few hours | Medium |
| Vertical Paneling or Wallpaper | $$ ($80–$250) | A few hours | Medium |
| Compact Island | $$$$ ($800–$2,500) | Professional install | Medium |
| Stainless Steel Accents | $$ ($100–$400) | A few hours | Low |
| Minimal Decor Edit | $ (Free–$40) | Under an hour | Medium |
| Skylight | $$$$ ($1,500–$5,000+) | Professional, structural | High |
| Bright White Ceiling | $ ($20–$50) | A few hours | High |
| Thin or No Crown Molding | $ ($30–$100) | A few hours | Medium |
| Strategic Mirrors | $$ ($60–$200) | Under an hour | Low |
| Simple Continuous Flooring | $$$$ ($1,000–$3,500) | Professional install | Low |
Frequently Asked Questions
Can you use dark lower cabinets in a low ceiling kitchen?
Yes. Dark lower cabinets are fine and often help ground the room, it’s dark upper cabinets and dark ceilings that cause the compressed, closed-in feeling. Follow the 60-30-10 two-tone formula, dark below, light above, for the best balance.
What are the best pendant alternatives for a low ceiling island?
Recessed cans are the safest default since they add zero drop. If you want a pendant look, choose an ultra-slim semi-flush fixture and confirm it still leaves at least 30 to 34 inches of clearance above the countertop.
How high should kitchen lights hang?
Over an island, keep at least 30 to 34 inches between the countertop and the bottom of the fixture. General ceiling lighting like flush mounts and recessed cans have no drop requirement and are the better choice for ceilings under 8 feet overall.
Final Thoughts
A low kitchen ceiling responds well to a handful of specific, correctly measured choices rather than a full renovation. Run the cabinets to the ceiling, keep island lighting within safe clearance, and apply the two-tone color formula, and the room will read taller without a single wall coming down. Mix in light colors, vertical lines, and a bit of reflective material, and even a genuinely short 7.5-foot kitchen can feel open, bright, and easy to cook in every day.