How to Clean Your Kitchen Sink: The Ultimate Routine for an Odor-Free, Spotless Basin

Knowing how to clean your kitchen sink sounds pointless at first. Soapy dishwater runs through it all day long, so it should basically clean itself, right?
Then the basin dries and the truth shows up. Greasy film in the corners, a hard white crust around the faucet base, and a stale smell drifting up from the drain.
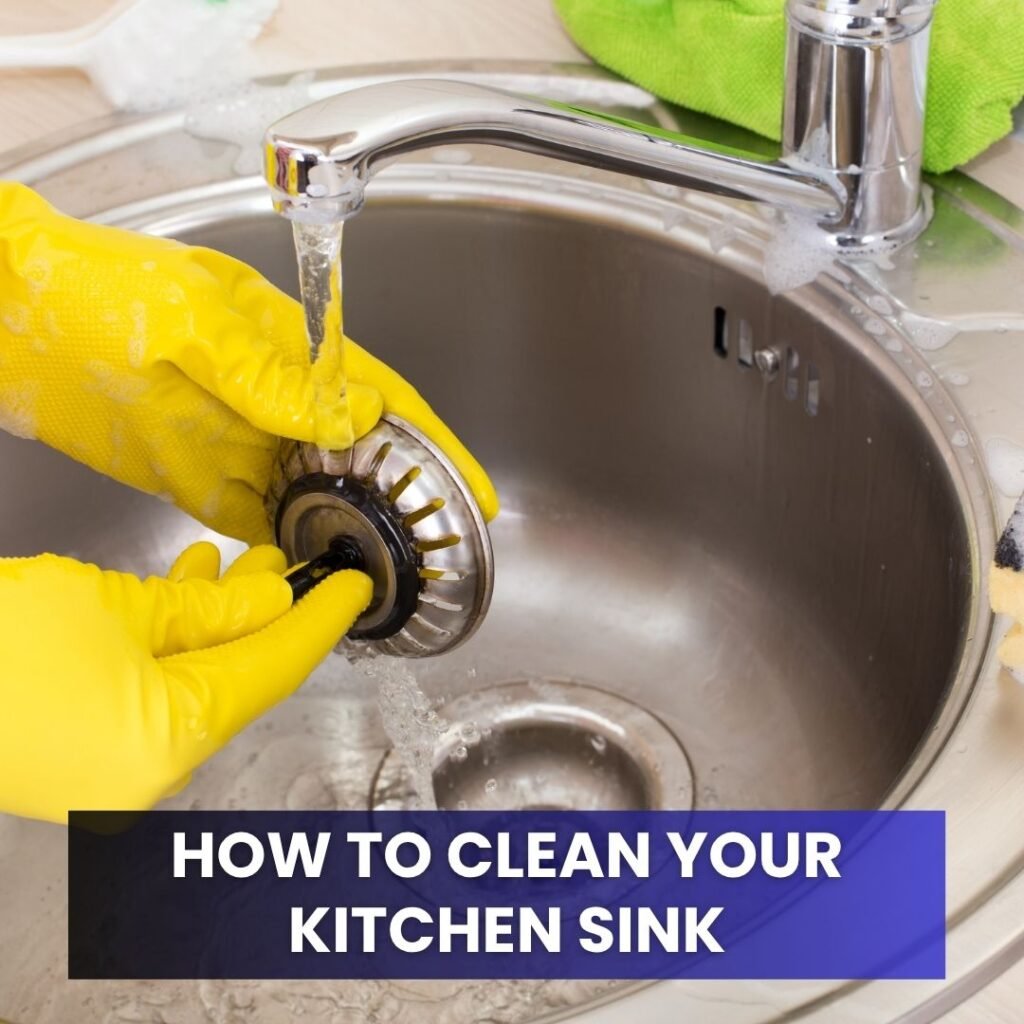
Grabbing the wrong cleaner can make it worse. Chlorine bleach can pit and discolor stainless steel, steel wool scratches porcelain glaze, and strong acids can dull some stone and composite finishes. Before you start scrubbing and splashing, wipe the cabinet doors and wood trim around the sink, because these tips on how to clean wood kitchen cabinets keep dirty overspray from staining the edges.
Below is a gentle, material-safe routine that deep cleans the basin, faucet, and drain in about 30 minutes.
Sink Material Danger Zone
Stainless steel
Scrub with the grain. No bleach soaks, no steel wool.
Granite composite
Mild dish soap and a nylon pad. Check your brand’s guide before using any acid.
Porcelain and fireclay
Skip harsh scouring powder. Use baking soda or 3% hydrogen peroxide on stains.
The Grain Golden Rule: stainless steel has a faint directional texture. Scrubbing across it leaves dull swirl marks.
Jump to a Step
How to Clean Your Kitchen Sink in 6 Steps
Step 1: Clearing Debris and the Hot Degreaser Pre-Rinse
The Tool and Formula: Hot tap water and a few drops of concentrated dish soap.
The Technique: Take out the dish rack, sponges, and strainer. Run hot water around the basin walls, squeeze dish soap along the corners, and let it sit for 2 minutes to loosen grease.
The Common Mistake to Avoid: Scrubbing before rinsing. Leftover food bits act like grit and scratch the surface.
Step 2: The Baking Soda Micro-Paste Basin Scrub
The Tool and Formula: 2 to 3 tablespoons of baking soda, a soft sponge, and a drop of dish soap.
The Technique: Sprinkle baking soda over the damp basin. Scrub in long strokes, following the grain on stainless steel, and use an old toothbrush along the drain rim.
The Common Mistake to Avoid: Pressing too hard. Let the baking soda do the work, especially on glossy porcelain.
Step 3: The Paper Towel Vinegar Wrap for Crusty Faucets
The Tool and Formula: Paper towels soaked in plain white vinegar, and a rubber band.
The Technique: Wrap the soaked towels around the faucet base and aerator, secure with a rubber band, and leave for 20 minutes. Unwrap and scrub the softened crust with a toothbrush, then rinse well.
The Common Mistake to Avoid: Letting vinegar drip onto natural stone counters. Tuck a dry towel underneath to catch drips.
Step 4: Smelly Drain and Garbage Disposal Flush
The Tool and Formula: 1/2 cup baking soda followed by 1 cup warm vinegar.
Drain Flush Timeline
Flush with very hot tap water for a full minute, then run the disposal with a few ice cubes to knock off stuck bits.
The Technique: Pour the baking soda straight into the drain, then the vinegar, and let it foam. The fizz helps loosen gunk clinging to the drain walls.
The Common Mistake to Avoid: Pouring boiling kettle water down the drain. It can soften PVC pipe joints and push melted grease further down where it hardens again. If your sink shares a drain with the dishwasher, these tips on how to clean a dishwasher help clear smells from both.
Step 5: Material-Specific Polishing for Showroom Luster
The Tool and Formula: 2 drops of food-grade mineral oil for stainless steel, or your sink maker’s recommended care product for composite.
The Technique: Dry the sink completely. Rub the oil onto a microfiber cloth and buff with the grain until it looks evenly satin. For composite care, brands like Blanco share material-specific tips.
The Common Mistake to Avoid: Using too much oil. More than a few drops leaves a greasy, smeary film.
Step 6: The 60-Second Nightly Dry Sink Habit
The Tool and Formula: One dedicated microfiber towel.
The Technique: After the last dishes, rinse the basin and wipe it dry, including the faucet base. No standing water means no mineral rings.
The Common Mistake to Avoid: Leaving a wet sponge in the sink overnight. It stays damp and smelly, so stand it up to dry.
Sink Material Compatibility Guide
| Sink Material | Safe Scrubbing Tool | Best Stain Lifter | Avoid |
|---|---|---|---|
| Stainless Steel | Soft sponge, with the grain | Baking soda paste | Bleach soaks, steel wool |
| Granite / Quartz Composite | Nylon non-scratch pad | Mild dish soap, brand cleaner | Harsh abrasives, strong solvents |
| White Porcelain / Enamel | Soft sponge | Baking soda, 3% peroxide | Scouring powder, wire brushes |
| Fireclay | Soft cloth or sponge | Baking soda paste | Abrasive pads, drain cleaners left sitting |
Porcelain and cast iron sink makers like Kohler publish care guides too. Always check yours first, since finishes vary by brand.
How to Clean Your Kitchen Sink: FAQs
How do you remove hard water build-up around a kitchen sink faucet?
Wrap the base in vinegar-soaked paper towels for 20 minutes, then scrub with a toothbrush and rinse.
Can you use bleach to disinfect a stainless steel kitchen sink?
It’s best avoided. Chlorine can pit or discolor stainless steel if it sits. 3% hydrogen peroxide is a gentler option, rinsed well afterward.
Why does my kitchen sink drain smell like sewage and how do I fix it?
Food buildup in the drain or disposal is the usual cause, so try the flush in Step 4. If the smell keeps coming back, call a plumber, since it may be a venting or trap issue.
How often should you deep clean a kitchen sink?
Once a week for the full routine, plus the nightly dry wipe. If your sink sits in a stone countertop, these tips on how to clean a granite countertop keep the whole area spotless.
A Fresh Sink Sets the Tone
There’s something about a clean, dry, fresh-smelling sink that makes the whole kitchen feel calmer. It’s a small win you’ll notice every day.
So keep how you clean your kitchen sink simple. Baking soda, a soft sponge, respect for the finish, and a quick nightly wipe are all it really takes.