Step-by-Step Guide on How to Clean an Oven Easily and Safely
A clean oven is essential for hygienic cooking, better flavor, and energy efficiency. Over time, grease, food spills, and burnt residues build up, making the appliance look unsightly and affecting performance.
Knowing how to clean an oven properly ensures your kitchen stays fresh, your meals taste better, and your appliance lasts longer.
This guide covers step-by-step methods, natural cleaning techniques, and expert tips for ovens, including racks, doors, and stubborn grime removal.

Why Cleaning Your Oven Matters
A dirty oven can negatively impact cooking, causing smoke, unpleasant odors, and uneven heating. Grease and baked-on food may also harbor bacteria or mold.
Regular cleaning not only maintains hygiene and safety but also helps your oven operate more efficiently, saving energy and ensuring food cooks evenly every time.
Gather the Right Cleaning Supplies
Before cleaning, gather the necessary items for a thorough job:
-
Baking soda and white vinegar for natural cleaning
-
Warm water and mild dish soap
-
Microfiber cloths, sponges, and soft scrub brushes
-
Spray bottle for cleaning solutions
-
Rubber gloves to protect hands
-
Old newspapers or towels to catch drips
Having all supplies ready ensures you can clean efficiently and safely without scratching the oven surfaces.
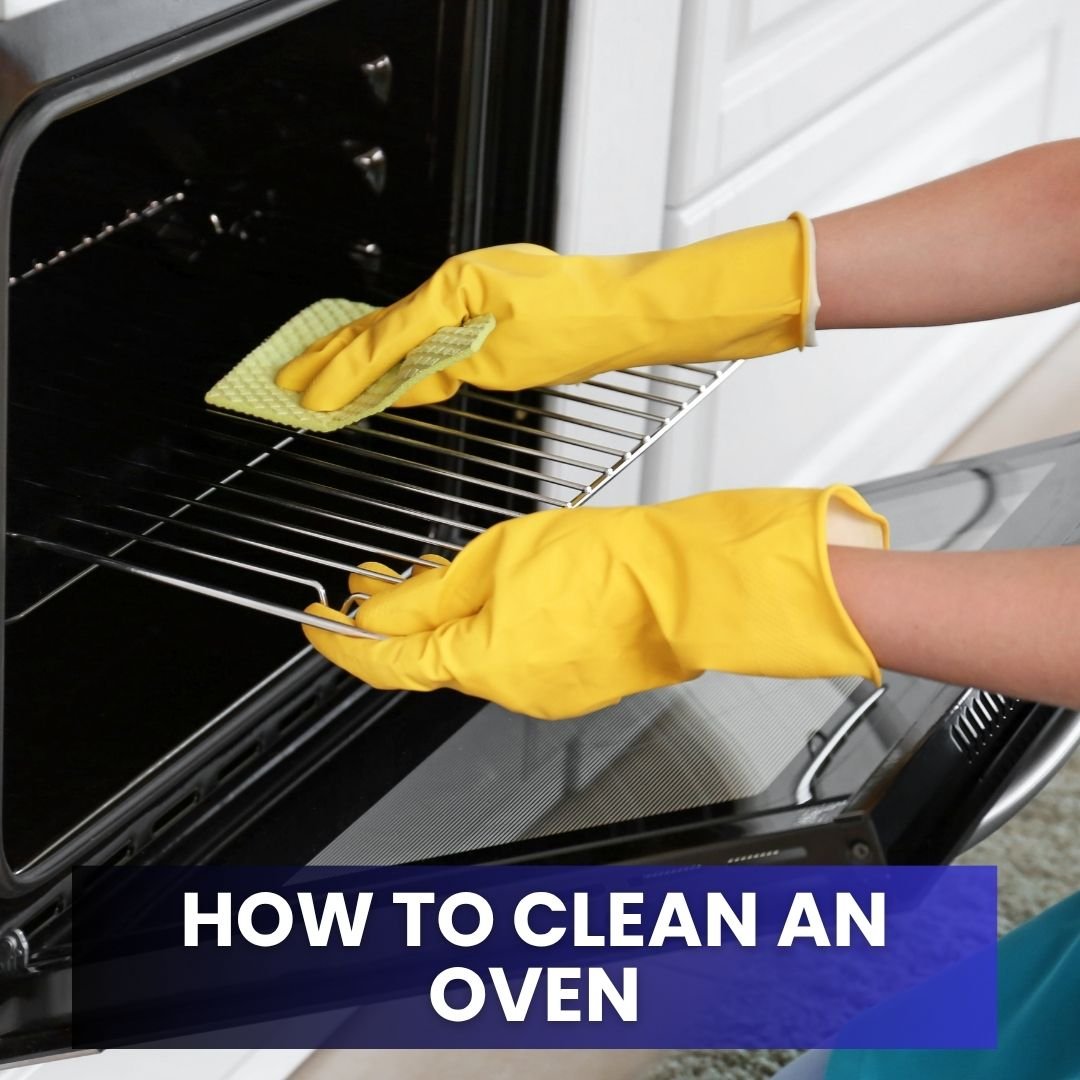
Step 1: Remove Oven Racks and Accessories
Start by taking out oven racks, trays, and any removable accessories. Soak them in a sink or basin with warm water and dish soap.
For tough grease, add baking soda or a few drops of vinegar. Soaking softens baked-on residue, making scrubbing easier and ensuring racks are completely clean.
Step 2: Make a Cleaning Paste
For interior cleaning, mix baking soda with water to form a thick paste. Apply it to oven walls, the floor, and stubborn greasy areas, avoiding heating elements.
Let it sit for 12–24 hours, or at least overnight, to break down stubborn baked-on food and grease. This natural method avoids harsh chemicals and ensures a deep clean.
Step 3: Clean the Oven Glass Door and Door Window
The oven glass door and window often accumulate grease splatters, fingerprints, and burnt-on food, making it hard to see inside.
Make a paste of baking soda and water or use a vinegar solution. Apply it to the glass, let it sit for 10–15 minutes, then scrub gently with a non-abrasive sponge or microfiber cloth.
Wipe with a damp cloth until no residue remains. Regular cleaning ensures clear visibility while cooking and prevents odor buildup.
Step 4: Remove Stubborn Grime
For particularly tough, burnt-on food, sprinkle baking soda directly on the residue, then spray lightly with vinegar.
Let it fizz for a few minutes before scrubbing with a sponge. Alternatively, a steam cleaning method—placing a bowl of water inside and heating the oven at 250°F for 20–30 minutes—loosens grime naturally.
Step 5: Rinse and Wipe
After scrubbing, use a damp microfiber cloth to wipe down all oven surfaces, removing all cleaning paste or residue.
Repeat rinsing until no soap, baking soda, or vinegar traces remain. Proper rinsing prevents chemical taste from transferring to food and leaves the oven fresh and safe for cooking.
Step 6: Clean Oven Racks and Accessories
After soaking, scrub the racks and trays with a sponge or brush to remove residual grease and grime.
Rinse thoroughly and dry before returning them to the oven. Clean racks improve airflow and prevent food from sticking during baking, ensuring better cooking results.
Step 7: Take Care of Oven Rubber Seals
The rubber gaskets around oven doors can accumulate grease and debris. Wipe them gently with a damp cloth and mild soap, avoiding harsh scrubbing to prevent damage.
Clean rubber seals maintain a proper airtight seal, improving heating efficiency and reducing energy waste.
Step 8: Clean Oven Vents and Exterior
Dust and grease can accumulate on the vent and exterior surfaces. Wipe the exterior with a microfiber cloth and mild soapy water.
For vents, use a soft brush or vacuum to remove dust. Cleaning vents ensures proper airflow, reduces smoke, and maintains appliance performance.
Extra Tips for Maintaining a Clean Oven
-
Wipe spills immediately after cooking to prevent baked-on grime.
-
Use aluminum foil or oven liners on the bottom to catch drips.
-
Avoid abrasive cleaners that can scratch surfaces.
-
Perform deep cleaning every 1–2 months depending on usage.
-
Use gloves when scrubbing to protect your hands from heat and cleaning solutions.
These small habits make oven cleaning easier and extend the life of your appliance.
Natural Cleaning Methods
For chemical-free cleaning:
-
Baking soda: Breaks down grease and neutralizes odors.
-
Vinegar: Disinfects and removes tough stains naturally.
-
Lemon juice: Cuts grease and leaves a fresh scent.
Using natural ingredients ensures a safe, eco-friendly, and effective clean without harsh fumes or residue.
Avoid Common Oven Cleaning Mistakes
-
Don’t use sharp tools that can scratch the oven surface.
-
Avoid soaking ovens with wooden or electronic components exposed.
-
Don’t leave cleaning paste on heating elements.
-
Regularly check for damaged seals or rust to prevent further issues.
Avoiding these mistakes keeps your oven safe, clean, and functional for years.
Benefits of a Clean Oven
Regular oven cleaning:
-
Enhances food flavor and aroma by preventing burnt residue.
-
Reduces smoke and unpleasant odors during cooking.
-
Improves appliance efficiency and energy savings.
-
Prevents bacterial growth and potential health risks.
A clean oven ensures hygienic cooking and longer appliance lifespan, making every meal safer and more enjoyable.
Final Thoughts
Knowing how to clean an oven properly is essential for every household. From soaking racks and scrubbing grease to cleaning doors, vents, and rubber seals, these steps ensure your oven stays hygienic, efficient, and ready for cooking.
Incorporating natural cleaning methods, regular maintenance, and proper habits keeps your appliance sparkling clean and prolongs its life.
A well-maintained oven not only improves cooking performance but also enhances your overall kitchen hygiene and safety.
Contents
- Why Cleaning Your Oven Matters
- Gather the Right Cleaning Supplies
- Step 1: Remove Oven Racks and Accessories
- Step 2: Make a Cleaning Paste
- Step 3: Clean the Oven Glass Door and Door Window
- Step 4: Remove Stubborn Grime
- Step 5: Rinse and Wipe
- Step 6: Clean Oven Racks and Accessories
- Step 7: Take Care of Oven Rubber Seals
- Step 8: Clean Oven Vents and Exterior
- Extra Tips for Maintaining a Clean Oven
- Natural Cleaning Methods
- Avoid Common Oven Cleaning Mistakes
- Benefits of a Clean Oven
- Final Thoughts


